

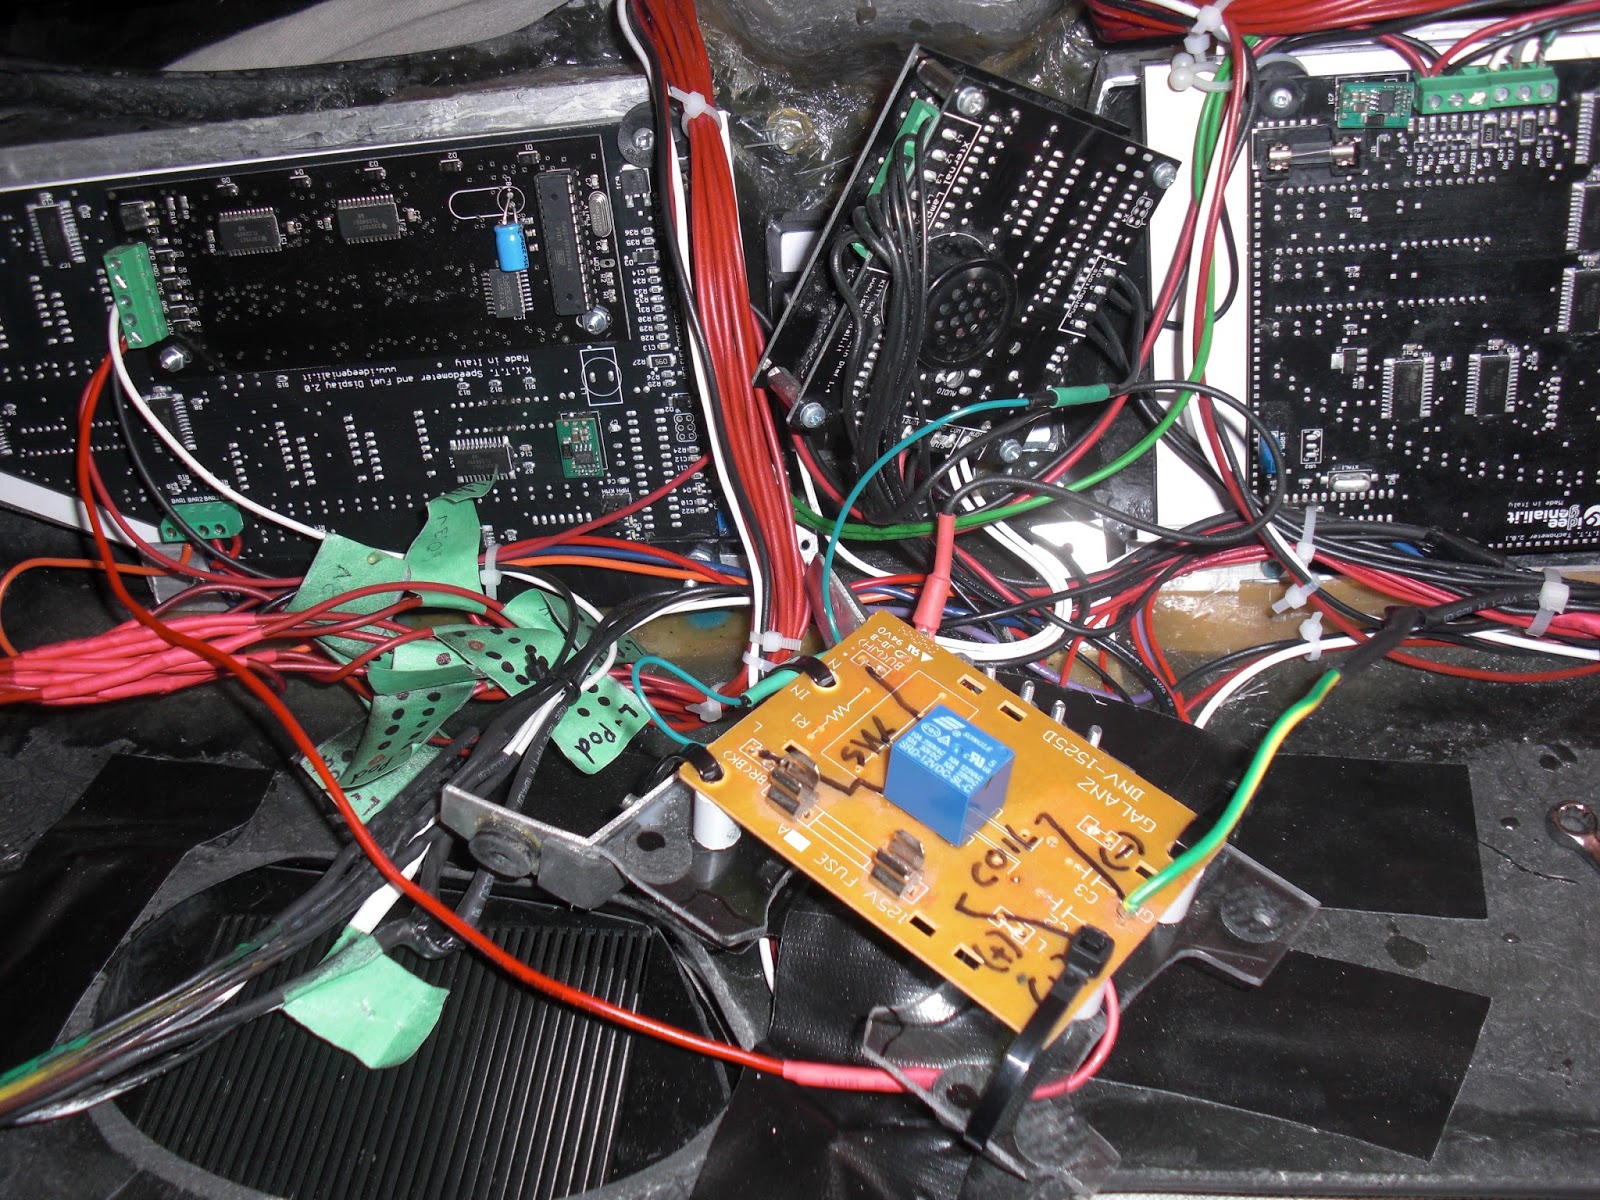
In making sure that I well isolate the Voice Box's DTMF tone request from any momentary buttons I have I figured I would rig up a mini Songo 12V Relay very close to the Voce Box. Now what happens here is that when a DTMF Tone request is called by any momentary button I have hooked up to a wire that I am calling "DTMF Tone Request" THAT wire goes to the magnetic coil of this mini Songo 12V Relay's Ground (-), the other side of the magnetic coil goes to 12V (+). So this then trips the Relay's internal isolated switch which I then have connected to both the Voice Box's Ground (-) and also the DTMF Tone Request port. You will have to excuse my somewhat over sized piece of PCB board it was all I had kicking around that I could use to mount this small relay onto and connect wires too. I'll most likely change it later when I get some smaller pieces of PCB Proto-Board. The wires from the Switch Pods that request the DTMF tone I just have going directly into the Voice Box's DTMF Tone request port.


Now the other part of today's fun was to wire up my Relays board for some experimentation just to make sure that I am understanding correctly just what is going on with this thing and how it interacts with my buttons. All of this stuff gets pretty complicated if you are new to electronics like me. ;) My latest video that I posted to my blog explains best and visually how I have it all hooked up. But basically the Ground pulse buttons from my Space Matt buttons go into the ports on the board that connect to the Diodes, they connect to the DTMF Tone Request wire and also to the individual relays on the board. Each relays gets it's own ground pulse from each of the Space Matt buttons activating the Relays internal switch which I can hook up to any device I want to activate, in my case 5 of the Space Matt buttons are simply activating buttons that control the setting for my LCD screen. Although I have not yet hooked it up, a 6th button will cycle the Message Centre while producing a DTMF tone with each press of the button. The rest of the Space Matt buttons I don't have plans for just yet.
My Voice Projection unit activation button is wired up the same way as the Dash Power Button and makes a connection to ground to activate the Step Relay, this one was a little more tricky. You can see in the image above (middle left) that branching off from the wire that comes from the Normally Open terminal of the V.P. power button that I have placed a Diode in-line connecting to the DTMF Tone Request block.... which I moved onto the back of my Relays Board. Without the Diode in place the Space Matt buttons would activate the Step Relay for the Voice Projection unit as well, not good, so the Diode sure takes care of that as it only allows current to travel in one direction... taking me a while to get the hang of that but it works and it's cool... gotta love electronics ;)
So now with all of this in place I'll have to test it out on the Voice Box once the replacement I.C. Chip 01 comes in the mail. If everything works out well, and so far I can't see what not as a Relay does what a Relay does ;) But as I say if all goes well I can look into experimenting with the Optocouplers when they arrive and see if I can make a set up like this that takes up a lot less space. This would be fine if I only wanted to use a small amount of my Space Matt buttons but I can see eventually wanting to use more down the road as I trick out K.I.T.T. with more cool gadgets ;)
No comments:
Post a Comment