I have been collaborating with Lambros Vassiliou on Face Book on a wiring diagram for hooking up an auxiliary switch to activate the Parking and Headlights using one of the lower console's SPDT lighted white rocker switches. According to Lambros this diagram should work for wiring up the Headlights switch using this method on the 1982 Trans Am. I'm not sure about later models, I think it may depend on how the switch is wired so you will need to do some checking on that. Now I have not tested this wiring scheme yet. The Diodes that will be used are the 1N4007 Rectifier type (top right),
  the Relays can be SPST or SPDT rated at 20 to 30 Amps, I have a couple of SPST 40 Amp relays so I'll be using those (right).
I think I have everything I need to give this a shot, I need to pick up some more solder and I'm not sure if I want to mount my Diodes onto a small piece of PCB board or just do them as "in-line" Diodes. But it looks like I should be pretty close to doing a video to show how this works. From what I can see of the wiring diagram it looks like it would be easy to even use one of the Upper Console DPDT lighted rockers for the Parking and Headlights too. ;)
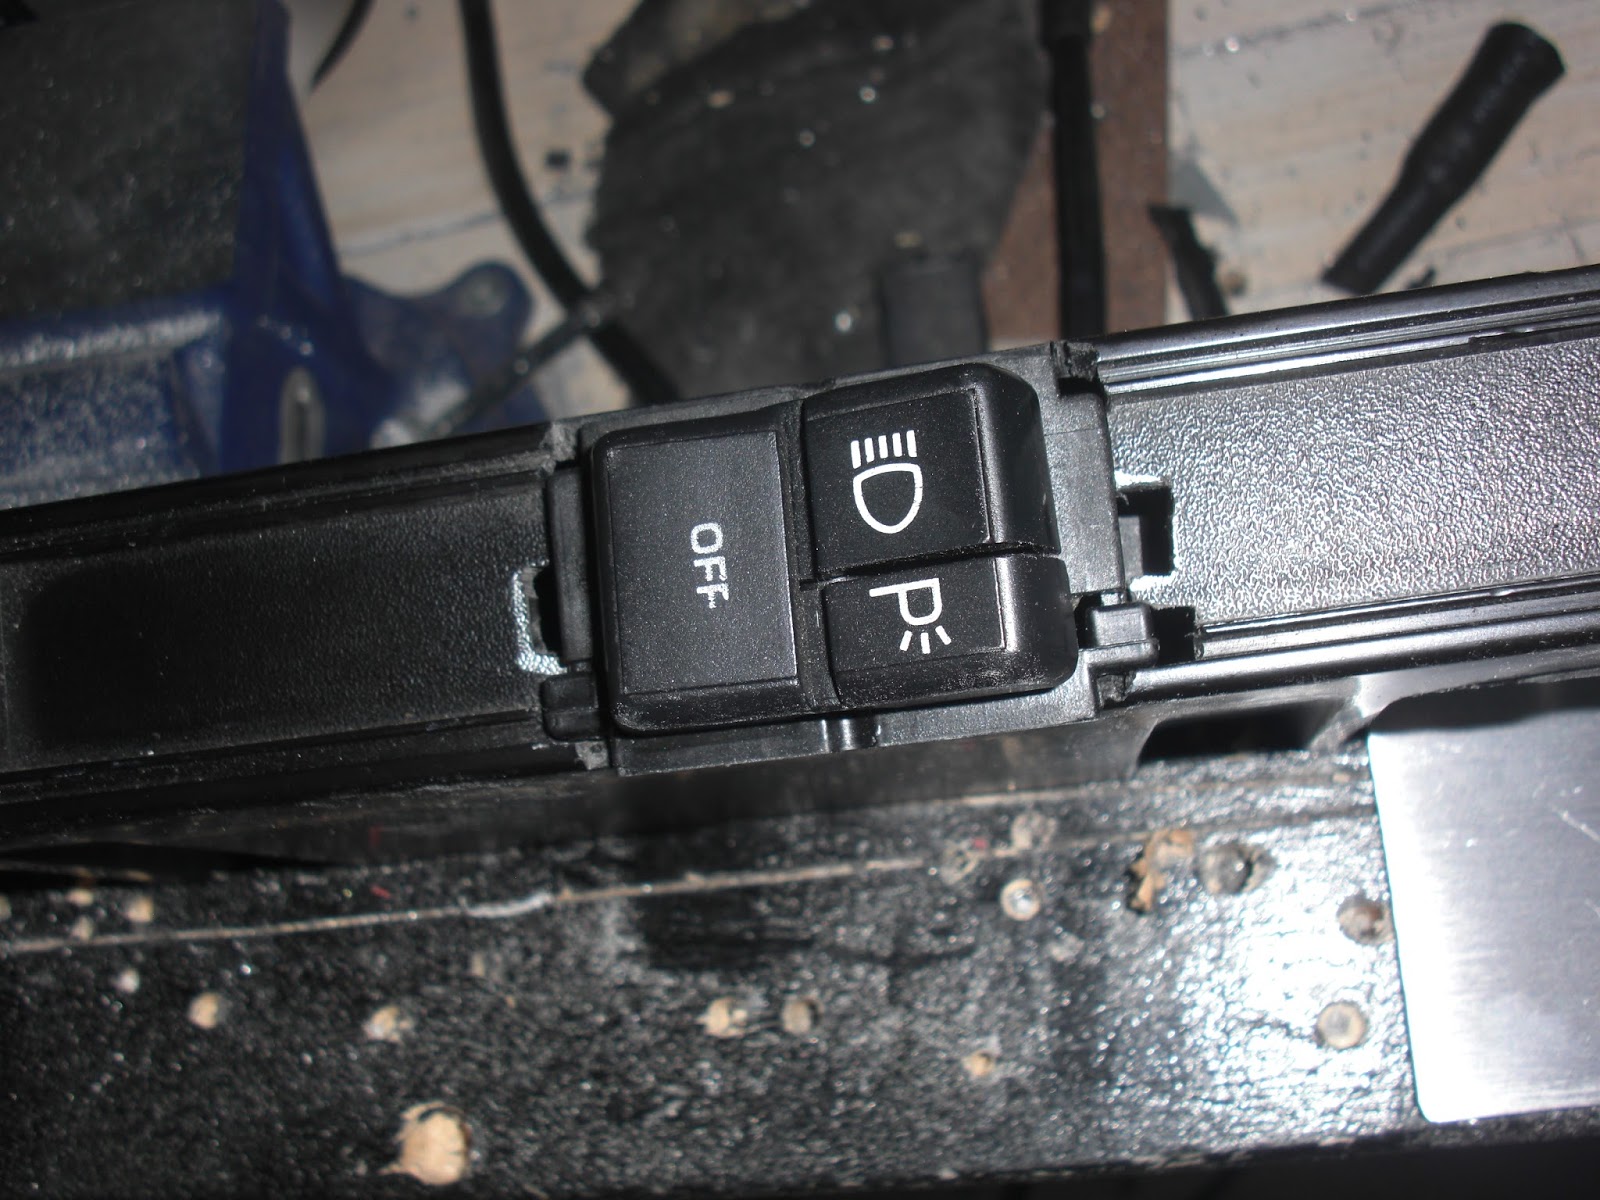
 Just to clarify, this is what the plug on my Parking/Headlights combo switch looks like. As you can see it has an Orange, Yellow, Brown, White and what looks to be a fat 14 AWG Red wire on it. Now in the diagram above there is nothing happening with the White wire so I'm still trying to get a straight answer on what if anything happens with that wire??
NOTE:
OK after some Multimeter testing on the stock OEM switch I had kicking around from the parts car it would appear that in the "OFF" position that there is a continuity between the White and Orange wire. Based on those findings I am going to try this diagram suggested by Mark Rolfe out as it seems to make the most sense with the white wire included into the scenario.
 Since the white wire obviously has an internal connection on the stock switch in "OFF" position, the first SPDT Relay makes sense as in off position the white wire would be connected to the Red wire (You could use either Orange or Red as both are 12V). I'll be able to test this out when I have a SPDT Relay, right now I just have 2 SPST Relays and I need the one with the extra 87A pin for the White wire.