

 I relocated my Headlights and Parking Lights switch onto that piece of Dash Trim that fit along the lower part of the stock OEM dash just below where the Gauge Cluster used to be. I had to do some cotton and modifying of the plastic part to make it fit into the space with my wire looms but got it to eventually fit in there nicely again. The next step was to make an aluminum bezel to fit over the Headlights switch. I cut out a piece of aluminum and cut out a hole the same size and shape of the hole that was in the stock OEM bezel that held both the Headlights and Dash illumination dimmer switches. I sanded it down (top left) and then marked where I would need to bend it (top right). If you have a "Metal Break" bending the aluminum is easy if not you can do what I did and use a Vice and a hammer.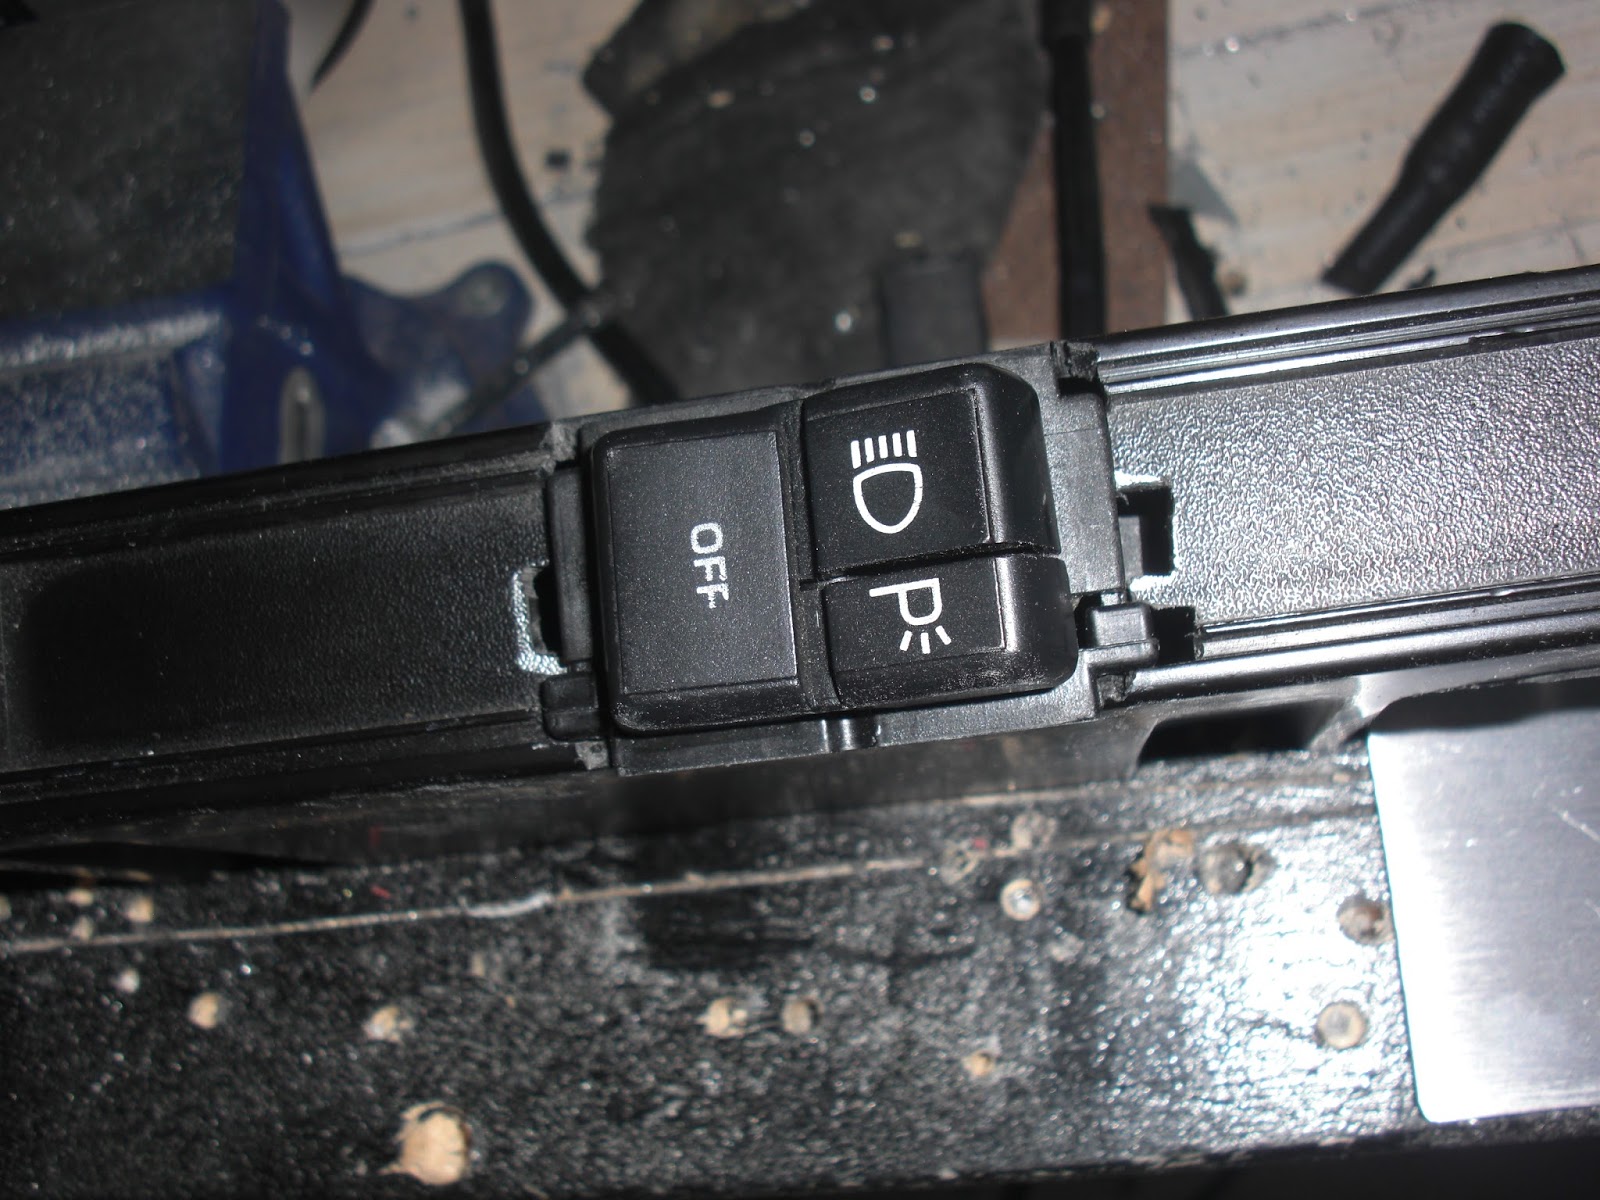


 After bending the aluminum bezel into the right shape I fit it into place over the Headlights switch (left) and drilled in four holes to screw it onto the dash trim with. Next I sanded down the aluminum bezel one last time before giving it a good cleaning before painting it (right).
 Once the paint was dry after baking in the hot sun for a few hours (left) I then attached the bezel to the plastic trim with four small black screws (right). With that job finally done the last thing to do was to attach the whole assembly onto the stock OEM dash and give the Headlights a test, something I was pretty sure I had never done since the car arrived almost two years ago. WOW! two years ago!! It's sometimes so surreal thinking about that, the time has gone by so fast and so much has been done on my K.I.T.T. Project.
Here is the final assembly in place, it's not screwed in yet as I have a lot more mucking about to do with wiring and such but it's in place and has been tested out, check out the two videos in my previous postings to see how that turned out. ;)


